
User Manual
Showing guide for: ApplicantThis guide explains how to apply to become a marker on the ECESWA Markers Portal. Use the left-hand step list to move through the application. Each section is saved when you press Save or Save & Next, so you can leave and resume at any time. A green tick appears next to completed steps.
You can access the system from the Examinations Council of Eswatini website at https://www.examscouncil.org.sz. Open eServices, then choose Teachers. On a cellphone, tap eServices at the top of the website, then choose Teachers.
You can also go directly to the Markers Portal at https://eregistration.examscouncil.org.sz/markers.
Using a cellphone: allow your screen to rotate, then open your browser settings and choose Desktop site or Desktop view for the best experience.
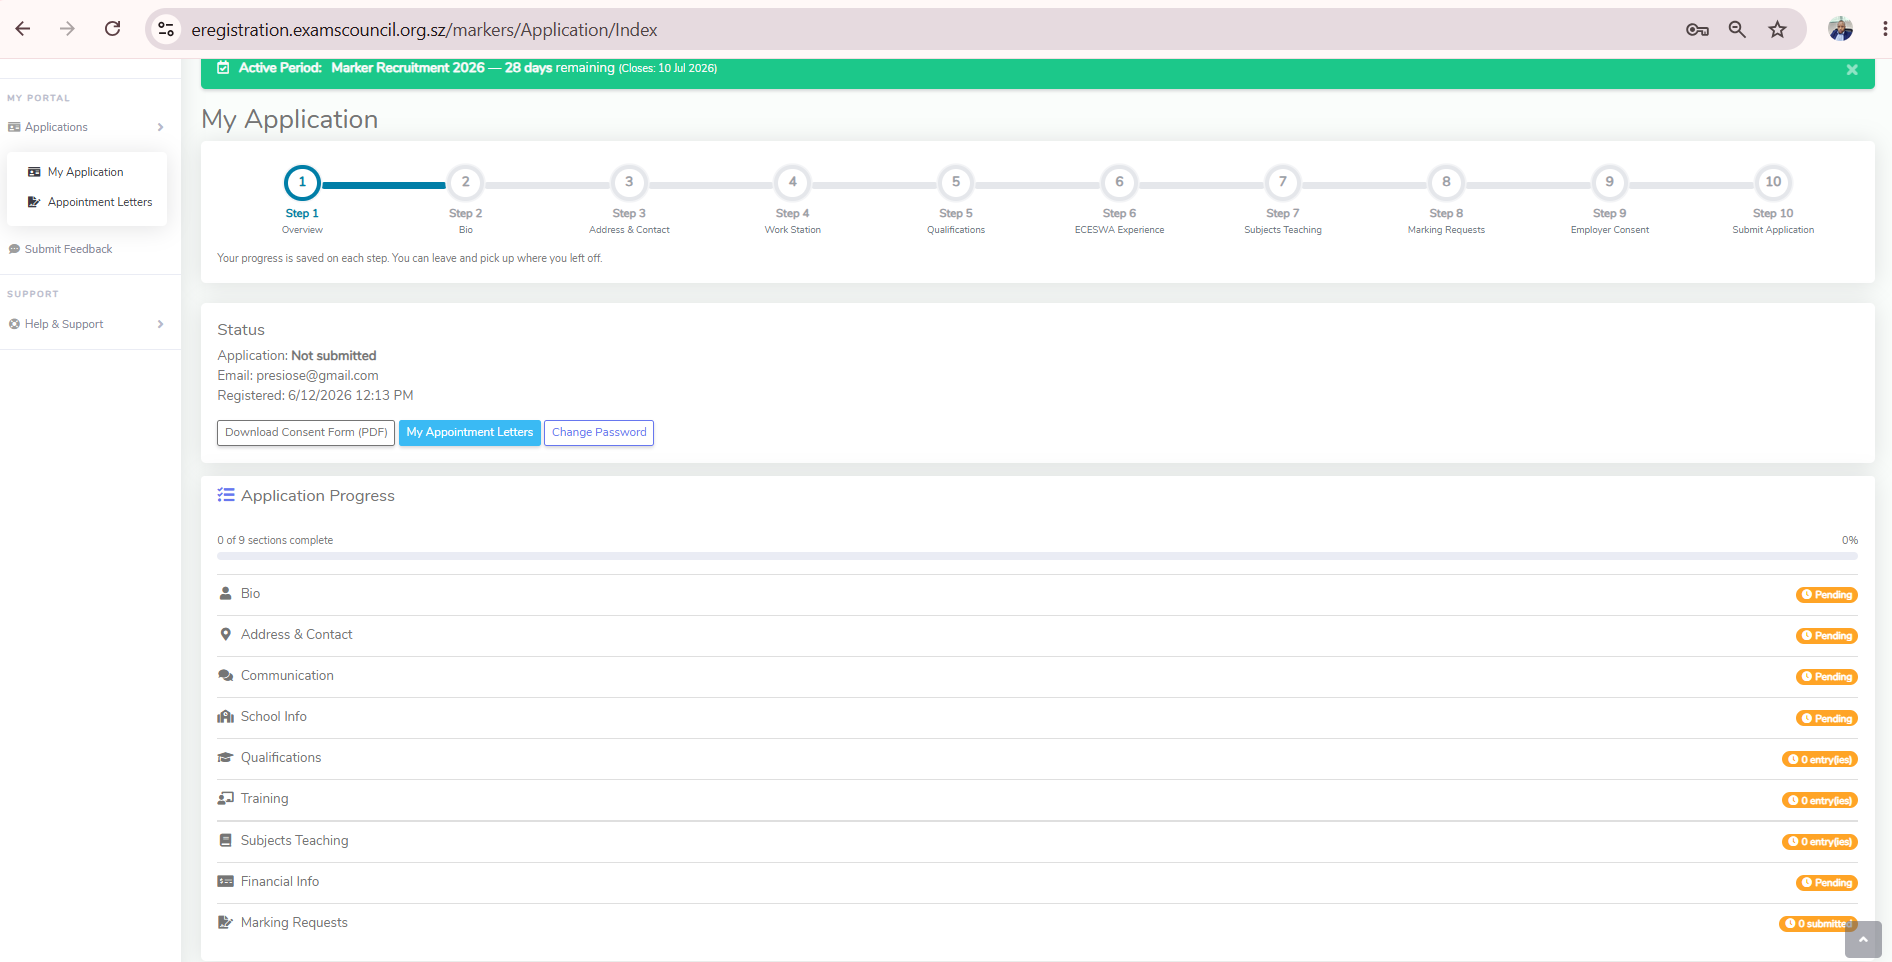
After you sign in, your application dashboard shows your progress through every step and lets you jump to any section.
1. Registration
- Open the Register page from the main menu.
- Enter your valid email address, cellphone number, 13-digit national ID (PIN) and a secure password.
- When you click Register, read the data-protection disclaimer. You must agree before the account is created. ECESWA uses your data only for the marking exercise and does not sell your information.
- The system may try to verify your PIN against the population register. If the population register is unavailable or the PIN cannot be verified at registration time, your account can still be created. Bio details are not saved during registration.
- If the email or PIN already exists in the system, the page shows an error. Use Forgot Password if you already have an account.

2. Login
After successful registration, sign in using the email address and password you created. You will be taken to your application dashboard where you can start or continue each application stage.
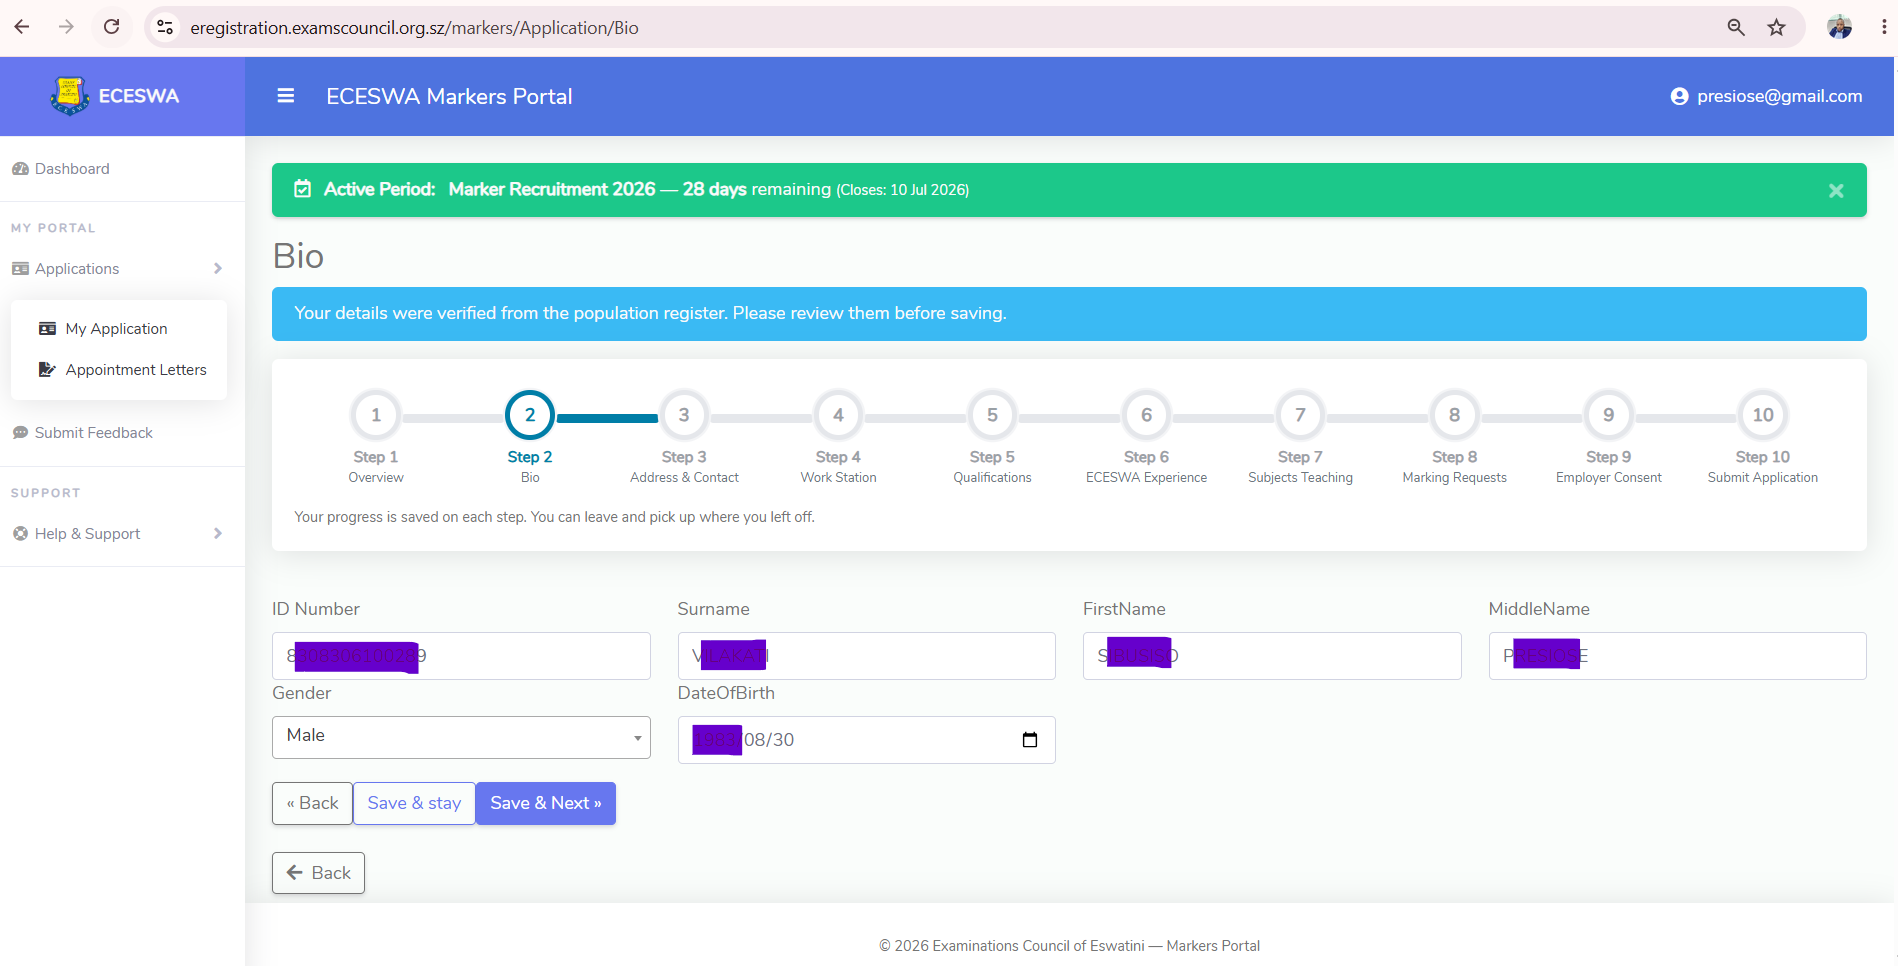
3. Bio
The Bio page captures your names, date of birth, gender and nationality. When you open this stage, if your name and surname are not already filled in, the system attempts to verify your PIN against the population register and pre-fill your details. If the population register is unavailable or verification still fails, enter your Bio details manually and continue.
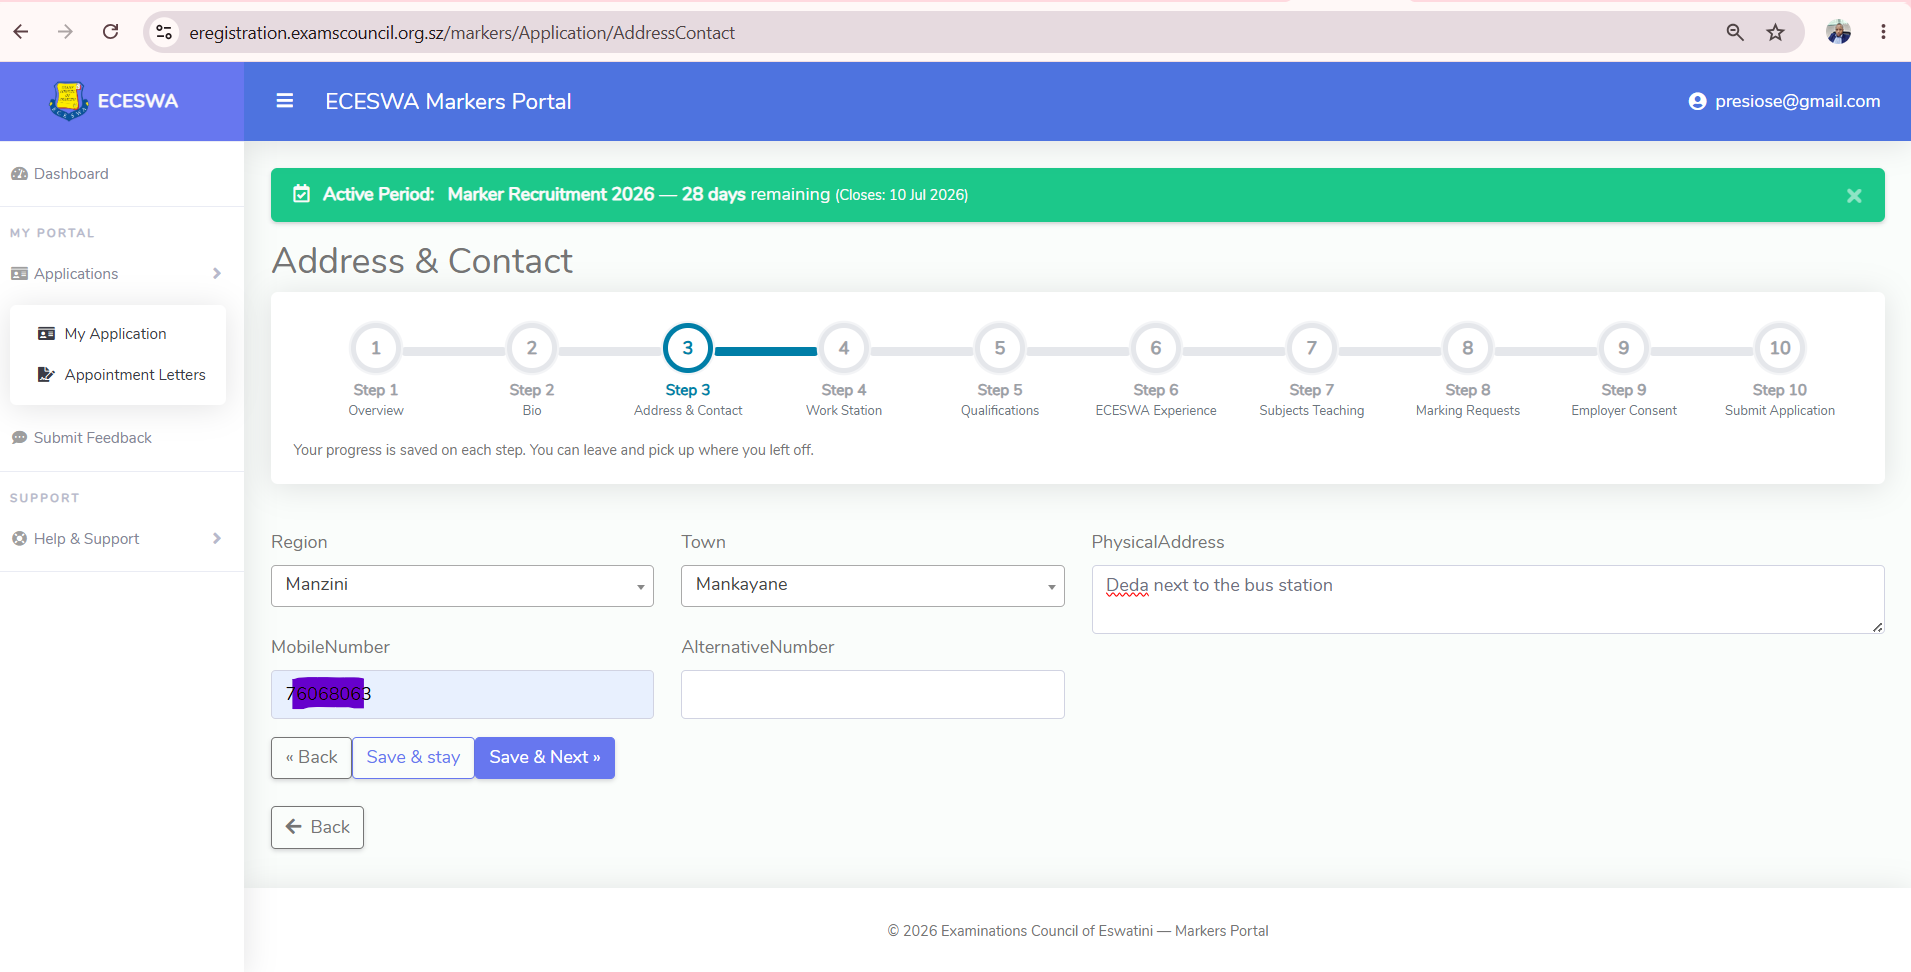
4. Address & Contact
Provide your physical address, region, town and mobile number. The town list loads automatically once you pick a region. A verification code is sent by SMS to your mobile number — enter it to verify the number before you can continue.
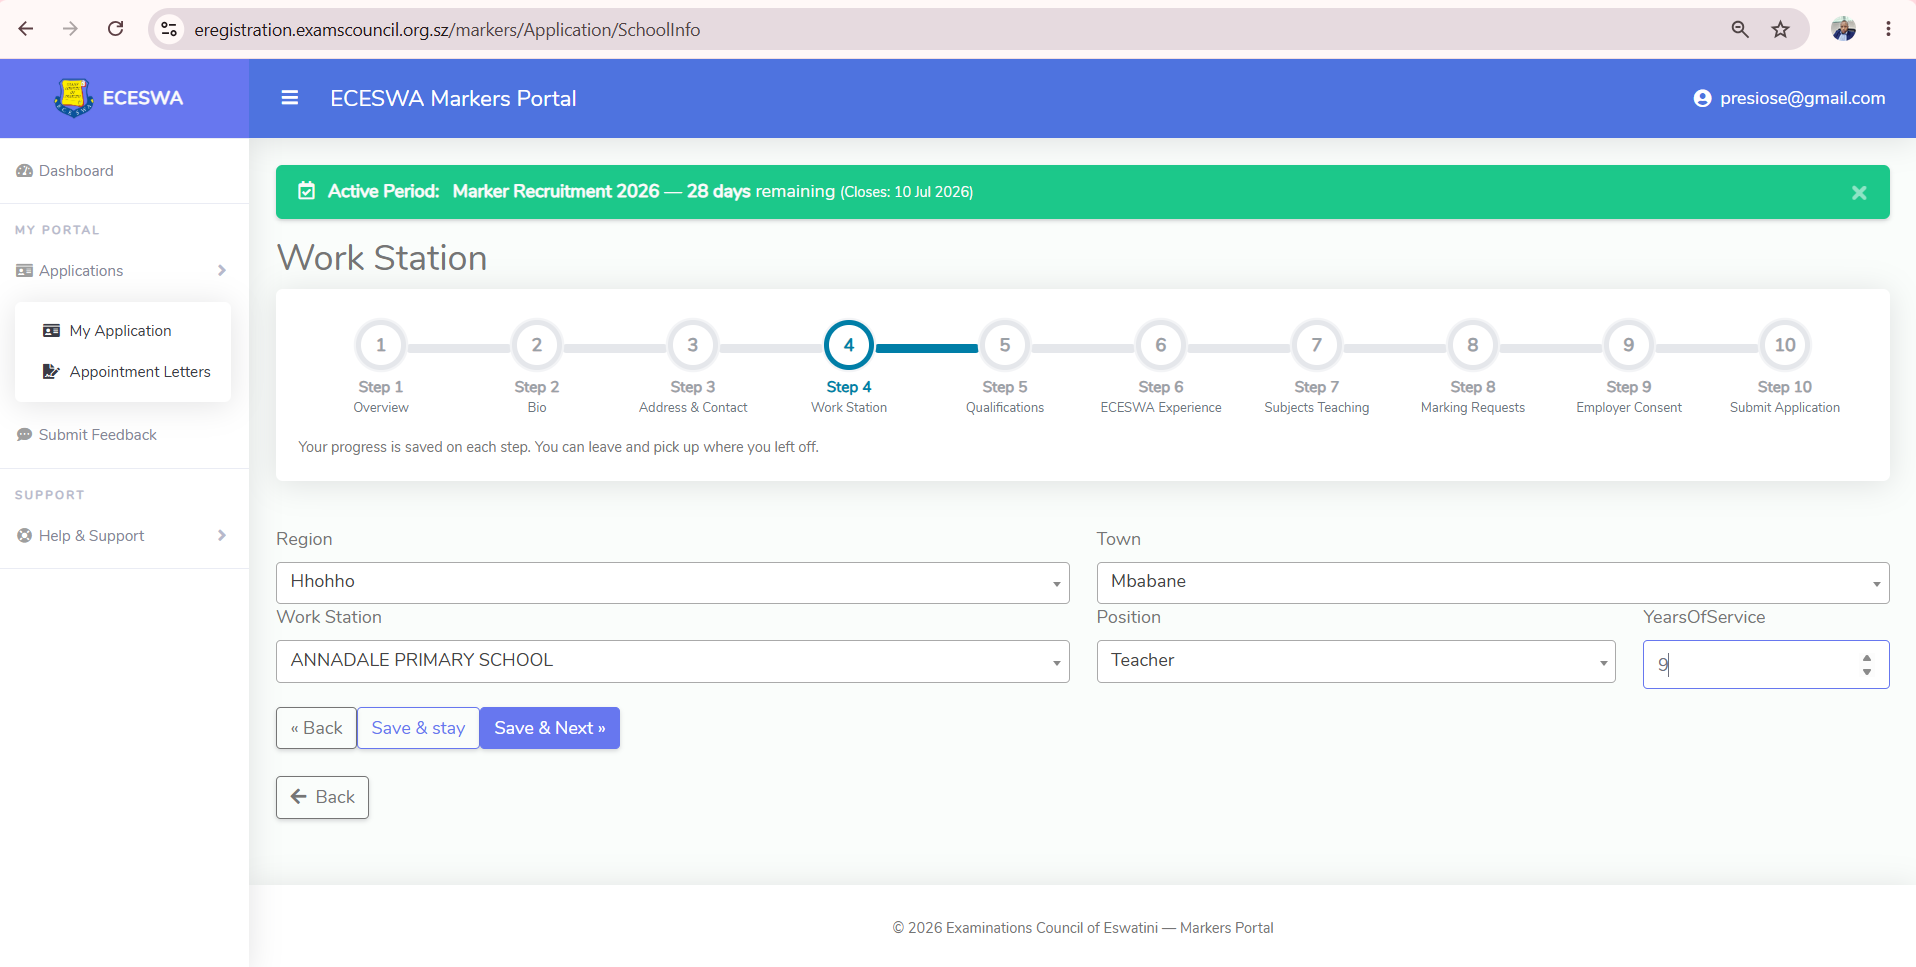
5. Work Station
Select your region, town and work station (school), then choose your Position and years of service. The town and school lists load automatically based on the region you choose.
Your position matters: if you are not a teacher, the Subjects Teaching and Employer Consent steps are not required and are shown as Exempted on your checklist.
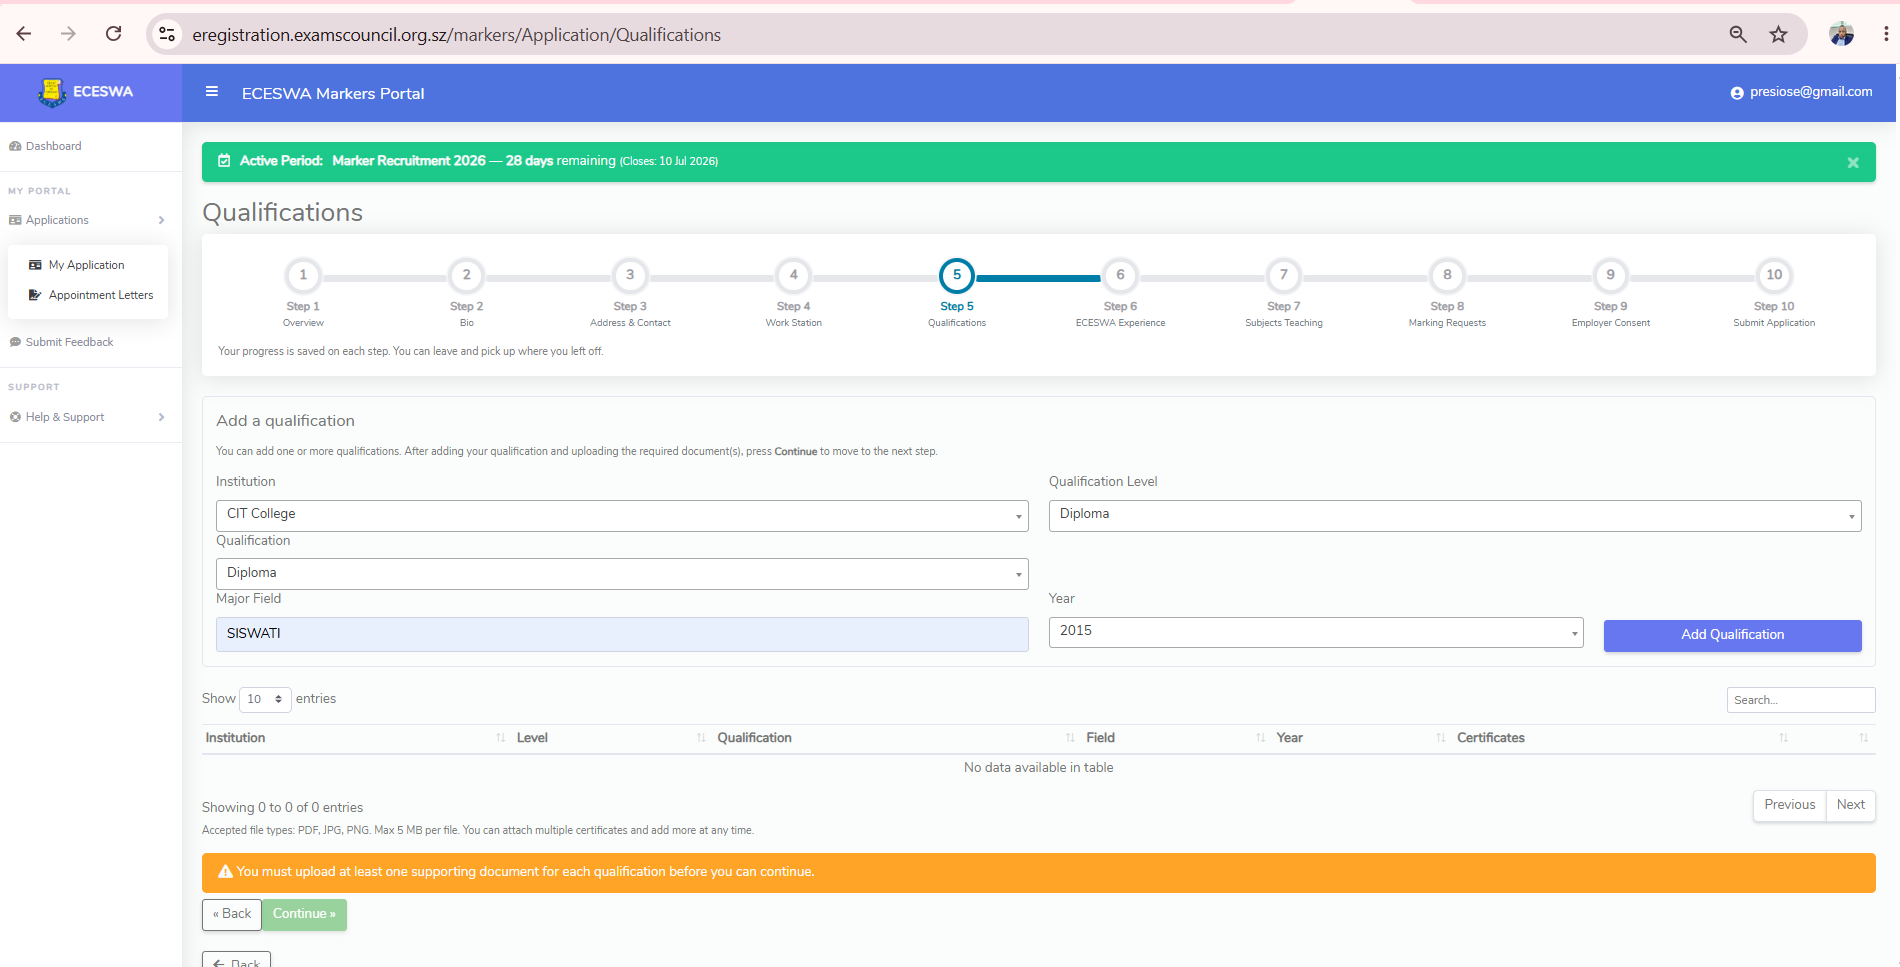
6. Qualifications & Attachments
Add each qualification by choosing the Institution, Qualification Level (Certificate, Diploma, Degree, Masters, PHD), Qualification, major field and Year obtained. If your qualification is not in the list, choose Other (type your own) and type it in.
Attach a supporting certificate to every qualification. Accepted file types: PDF, JPG, PNG. Maximum 5 MB per file. Each uploaded file can be previewed on screen or removed. You must attach at least one document to each qualification before you can continue.
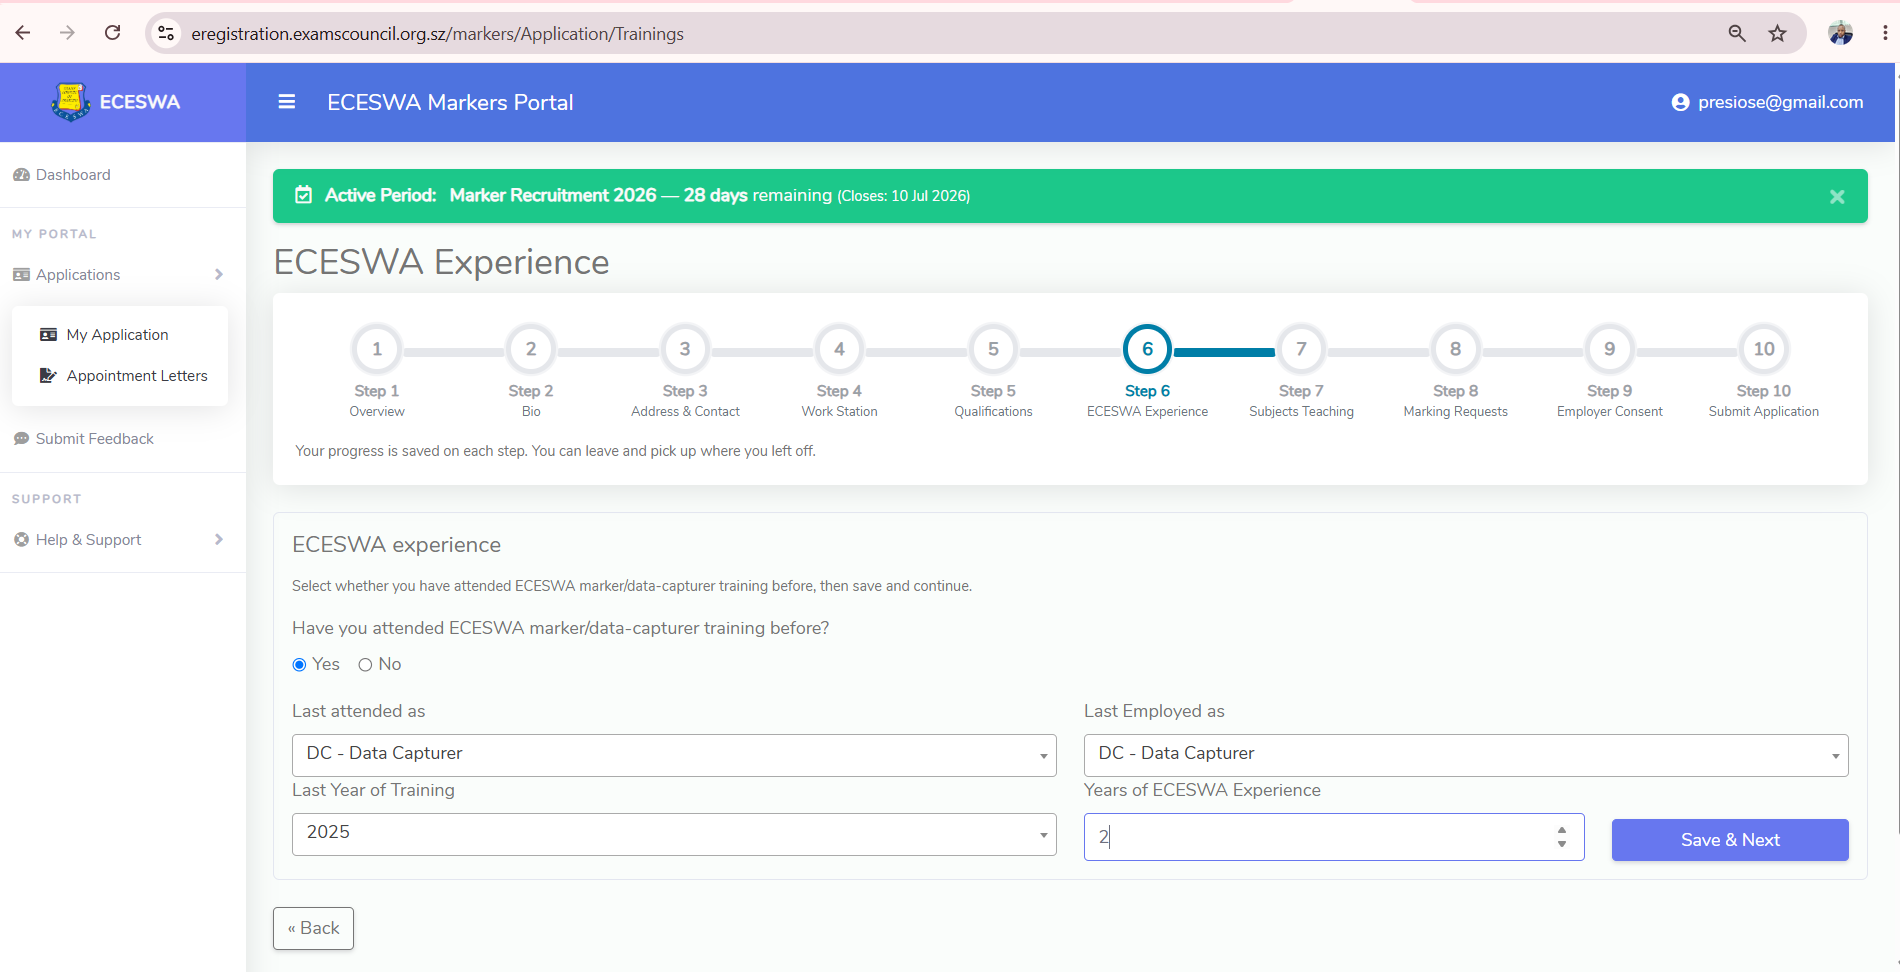
7. ECESWA Experience
Select whether you have attended ECESWA marker/data-capturer training before. If you choose No, the section can be saved as complete and you continue to the next stage. If you choose Yes, provide the position you last attended as, the position you were last employed as, the last year of training and your total years of ECESWA experience, then click Save & Next.
8. Subjects You Teach
Select the level, subject and the classes/grades you teach, with your years teaching each. The subject and class lists load automatically from the level you choose. This step is only required for teachers.

9. Marking Requests
Choose what you are applying for (Marker or Data Capturer), then the level, subject and component/paper. The subject and component lists load automatically based on your earlier selections. Add a request for each subject/paper you wish to mark.

10. Employer Consent
This step applies to teachers. Click Download Employer Consent Form, have it signed by your principal/head teacher, then upload the signed copy and click Save Consent. You can preview the uploaded file on screen and remove it to replace it if needed. Non-teachers are exempted from this step.

11. Submit Application
The Submit Application page shows a checklist of every required section. Completed items show a green tick, outstanding items show a red cross, and items that do not apply to you show Exempted. The Submit button is enabled only once everything required is complete. Submitted applications are locked for review.

12. Feedback & Support
Use the Submit Feedback menu to send comments or rate your experience, and Help & Support for contact details and this manual.
Troubleshooting
- If you are using a cellphone, allow screen rotation and enable Desktop site or Desktop view in your browser settings.
- Ensure your PIN is 13 digits and correctly typed.
- If a drop-down (town, school, subject or component) is empty, first choose the option above it so the dependent list can load.
- Check your email for an existing account; use Forgot Password if needed.
- If population-register ID validation fails during registration or Bio, you may still continue and enter your Bio details manually. Contact support if you believe your PIN has already been registered incorrectly.
For a printable copy of this guide, click the button below to download the PDF manual.
Download PDF Manual